Friday, August 31, 2012

Totally Delicious Smoothie

I love fruit, so I buy a lot of it at the grocery store. Sometimes I buy too much, much more than I can eat. Sometimes a sad container of berries will find its way to the back of my fridge and I'll forget about it. 

This was the case of the half pint of strawberries that S excavated from the back of the fridge this morning. 
He called me this afternoon. Eat the strawberries he said. They only have one, maybe two, days left in them.  

Oh no! I thought. Not the strawberries. I remember earlier this week, loving the strawberries. Devouring their deliciousness. The redness! The sweetness! With love like that, how...why...did I forget about them?
Alas, I had bought other fruit that had swept me off my feet. 
  
After the phone call with S had ended, I went to the fridge to examine the strawberry damage. 
They did not look too bad. Still bright red, but quite squishy. Not really the way I like to enjoy my strawberries. 


I knew I needed to eat these poor, soft strawberries. But how? 
I turned to my backup plan. 

I make a mean smoothie. They are so easy. Smoothies save fruit, even if it means the pitiful fruit must get pulverized.

I make my fruit smoothies with four easy ingredients:

Soy Milk
Ice
Vanilla extract
Sad Fruit, looking for a new beginning

Like I said, so easy.


So delicious!


I hope you have been inspired to save some of your old fruit with a delicious & refreshing smoothie!


Wednesday, August 29, 2012

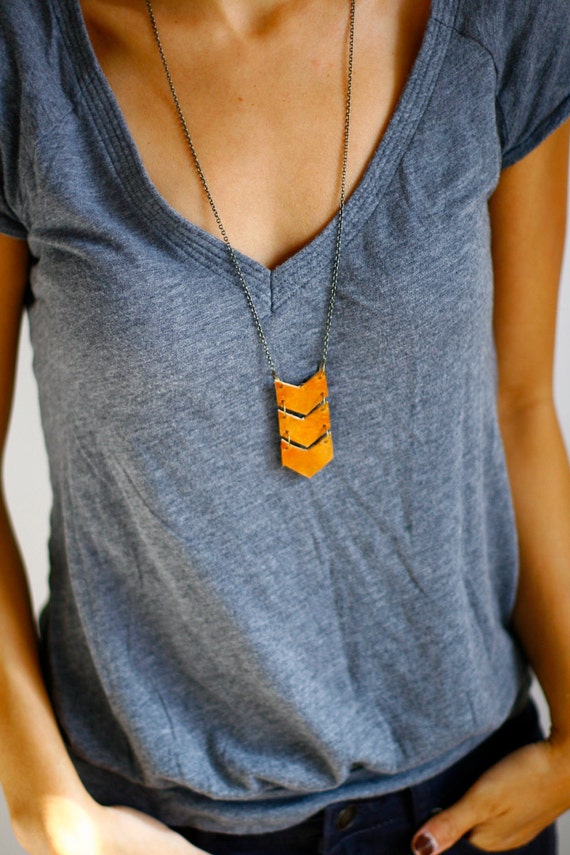
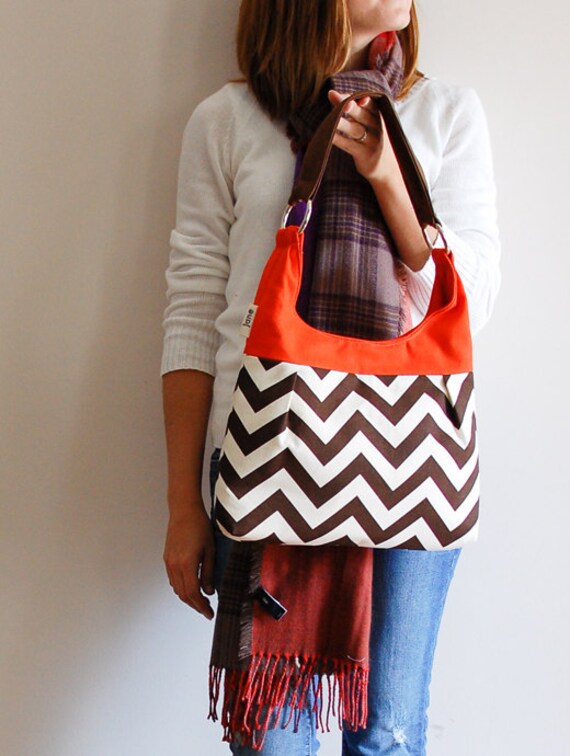
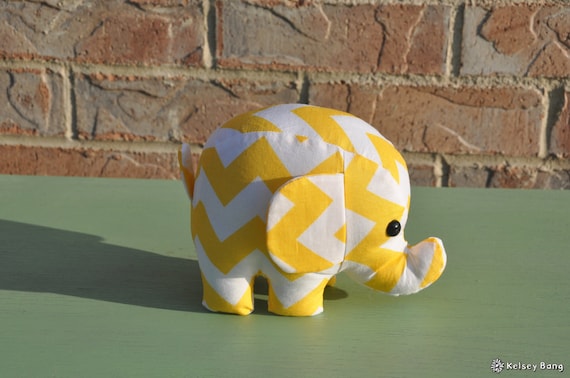
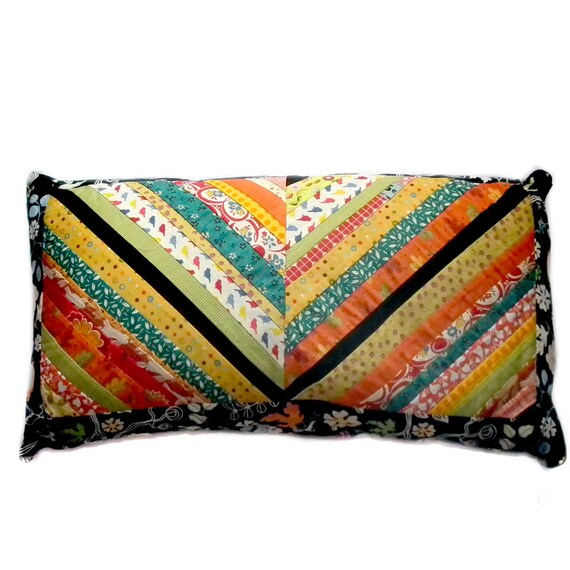
Chevron Love

I just finished a chevron patterned purse for my shop, so I decided to check out some other awesome chevron-inspired items on ETSY!


Thursday, August 23, 2012

Fabric Cat is Covered in Fabric

Remember yesterday when I told you the story of my fabric basket fail? My original idea was to create this fabric basket for my lighting cords, then "hide" the basket with an adorable 2-D or 3-D kitty. Because who doesn't like kitties?

So, after I created my ridiculous pink and green pouf, I was somewhat disappointed in its lack of basket-shape, so I thought if I just made this awesome cat thing, then nobody would notice that my cord pouf was not a basket!

I made a cat all right. A rainbow-tailed, big-nosed, smiling, furry, happy cat! 

I cut the cat tail, body, nose, ears, and paws out of craft weight interfacing. This stuff is thick & sturdy, as I had intended to have this cat sit upright, attached to a fabric basket. 


I attached the fabrics to the interfacing using the iron, then hot glued all the edges to the backsides of all the shapes. I hope that makes sense. 


I hot glued the ears, nose, tail, and feet on. The I cut a piece of glitter paper into a small heart and glued it on the fur. I cut a small length of this awesome sparkly gold bias tape I had, and glued it on as a collar. 
I sewed the buttons on by hand, and used the machine to create the cat's big smile. 


After all was said and done, I thought, damn, this is way to cool to put on the floor.


So I stuck the cat in an empty frame I had laying around. It was tough trying to find the right background color to accent the cat properly. Life is tough when your fur is five million different colors. 

I did not have plain black or white paper. All I have in the house is piles and piles of scrapbooking paper. I thought this blue paper from Amy Buter looked the best, but I'm still not happy. (Don't mind the wrinkle on the right side...I'll fix that...one day.)


Now I have an awesome piece of new art that makes me giggle a bit inside every time I see it!

Do any of your projects turn out different from how you imagined? 
Do they ever turn out more awesome!?


Wednesday, August 22, 2012

Cord Pouf

Two weeks ago S surprised me by creating this sweet moment in our living room. I had moved the chair into this corner a while back, mainly because there was no where else to put it that made sense. Sometime after the chair was relocated, the side table was put next to the chair, probably for the same reason. 

The two pieces of furniture looked a bit out of place, mainly because they seemed to be floating on the edge of the room with no purpose. S moved the rag rug from the sun-room into our living room to anchor the furniture, and the lamp he rescued from a box (or, more likely, the floor). I think the lamp gives the space some purpose...like, you could sit down to read in that chair (nice idea), or sit down and check your fantasy baseball stats on your Ipad (more likely scenario).

Anyway, now that the lamp is there, there is a mess of cordage visible from every angle. Before the lamp was there, only the cord from the hallway lighting system was plugged in. Now there are two cords, and a big mess.


Pretty space....mess of cords 


More hot mess


Pretty lights in the hallway


So, I had this great idea that I would create a basket out of fabric to hide the dodgy wires in. Mind you, I've never made a basket out of fabric before, and I did not have a pattern, as is per my M.O.
I did however have a grand idea that involved copious amounts of poly stuffing and a model of a stuffed cat.
Cats, I just can't get enough of them.

My idea was to create this pouffy & squishy basket to hide the cords in, then create a fake cat to hide the basket. Genius!

I did measure. Some things. I measured the diameter of the cord pile. Then I doubled that measurement, and cut out a large circle of fabric. 


The green was to be the outside fabric, and the pink was to be the inside. Both are retro fabrics from my stash, both probably about as old as I am.


Poof! 
I made a.......pouf. Not a basket. Whoops. I guess next time I should use a pattern, or give my idea more than a 20 minute planning period. 


I filled the pouf with a bag of rice, and lots & lots of poly stuffing. Despite not being a basket, it was still pretty cute, so I decided to give the ol' gal a whirl!


Not bad, huh! The whole effect is a little wacky, but the cords are covered nicely, and the silly pouf adds a nice touch of color.

Remember that cat I wrote about earlier in this post? 
I'll have more about that for you tomorrow!

Tuesday, August 21, 2012

Crayon Roll Up

So, this morning I flew up to Boston to visit my sister & her wife...and to help babysit the young one. After an hour of eye-clenching agony in the air, I landed at Logan Airport, happy to be on the ground again.

First, a little back-story about this project...
Me being the type of awesome person that I am, picked out some awesome presents for the three Boston-ites in my family. Then I successfully wrapped said presents and put them in a bag, for easy transport to the post office. Then I left all of those same X-mas presents destined for Boston in said bag. Next to my back door. For eight months. 
Yeahhhhh, about that.
So, when my sister texted me last week asking if I wanted to come up to Boston to visit and watch the young one, I was all like "Sure, that sounds awesome! And oh yeah, I can bring your X-mas presents too."

Lucky for both me and the little one, the shirt I bought him for X-mas eight months ago would have no longer fit. That only meant that I got to sew him something!

I used this very well written tutorial from Prudent Baby, only modifying it slightly.

Instead of cutting the outside & lining fabrics at 18x6" I cut them at 18x9" so there would be extra room at the top. I wanted to be able to fold the top part down over the crayons, so they would be very secure inside the roll.

I did not have crayons at the time these pictures were taken, but I do have some super cute pictures I took a few days later, after I stuffed the roll with crayons. I'll share as soon as I get around to uploading the pictures to the internet.

I hope you have been inspired to make a crayon roll up for a young one in your family!


Monday, August 20, 2012

My Top Four Patterns to Sew for Fall/Winter!

Summer is quickly coming to an end, so that means I get to think about what patterns I want to sew for the fall! I've been really bad about sewing garments from my own self-drafted patterns, instead of using all the beautiful patterns I read about online and see other bloggers sew up. I've decided to pick five patterns that I would love to make for the fall, but honestly, if I make two of them I'll be over the moon!

Somehow, the majority of the patterns are from the indie pattern designer, Sewaholic. These are some of the most popular patterns in the diy sewing world, and I haven't made any of them yet! That is going to change. I am so excited to start one of these projects, I just can't decide which one! 


1. Sewaholic Cambie Dress


2. Sewaholic Pendrell Blouse


3. Sewaholic Renfrew Top


4. Victory Patterns Ava Top

5. This one is a mystery. 
I found the most darling blouse pattern online the other day. It had cute short sleeves and a very interesting twisted collar. I did not pin the pattern like I should, and now I can't remember the name of the designer, the pattern, or anything! Please help!

Saturday, August 11, 2012

The "Lets Get Back to the Sewing Room" Patchwork Pillow

I've been missing my sewing room lately. I haven't sewn anything in what feels like weeks because I've been busy with so many other things going on in my life right now. I was feeling really down last night when S game me some good advise, he told me to just go into my sewing room and make something! So, this afternoon I put aside everything else on my plate, and made this pillow!  


Thursday, August 2, 2012

DIY Picture Frame

I love taking pictures. There is no better way, in my opinion, to hold onto those special memories than taking a picture. It is always cool to showcase your unique memories in a frame that is just as creative and fun! 

Today I've created a frame using my new favorite craft item: homemade fabric yo-yos!

I started with some vintage fabric (that is most likely older than I am!) and an unfinished wooden frame. 


I stained the frame with my favorite stain by Minwax. Their "Dark Walnut" color has absolutely no red in it, which is the way I like my brown wood stain. This color stain drys into a deep, luscious dark brown.
(This is the same stain I used for this furniture project!)  


After the stain was dry I sealed it with a clear coat of polycrylic.


I made some medium-sized yo-yos out of the vintage fabric and fixed them to the frame.


I played around with the yo-yo placement before I permanently attached them. 


Finished! 
I love the quirky, vintage look!