Wednesday, April 4, 2012

Tangerine Tango Striped Vase

Inspired by Pantone's 2012 Color of the Year, I decided to add some juicy orange stripes to an unloved & unused vase I've had hanging around my home for many years. 

Old, boring vase.

 While I was in the craft store picking out neon paints for my DIY painted wooden spoons, I spotted the Martha Stewart line of craft paints. She has this glitter paint that I had not seen before, and before I knew it, I was walking out of the craft store with two more paints than I originally went in to buy. Oh no, so sad.

The Martha Stewart paint claimed that it could be used on a variety of surfaces!

Since my vase was glass, I cleaned its surface with alcohol, as per the instructions. 
I wish I could tell you that I also made myself a martini with said alcohol, but alas, it was about 11 o'clock in the morning when I undertook this project. Just a wee bit too early for martinis for me!

After the surface of the vase was sufficiently drunk, I used blue painters tape to tape off my stripes. 


I did three coats of regular shiny orange paint & one top coat of the awesome glitter orange paint. 
The directions for using this paint on glass noted that the piece needed to cure for 21 days, and then it would be top-rack dishwasher safe. Since I do not plan on washing my new vase in the dishwasher, I went ahead and bought some pretty pink flowers and used it the same day!


It turned out just like I imagined! The project was super easy, just a little time consuming since I let the paint dry for an hour between coats. 
I love how with just a little time & paint I was able to turn sometime that was destined for the recycle bin into something that I actually enjoy looking at now!


Happy crafting!


I've linked up with Tip Junkie & Chic on a Shoestring Decorating today!
Tip Junkie handmade projects


Chic on a Shoestring Decorating

Tuesday, April 3, 2012

School 33 Art Center Benefit - Donating Art for a Great Cause

I've always considered myself an artist. I think my love of creating art began some time around grade school, but it didn't really set in until I was in high school that I knew I needed to make art a part of my daily life. I took many art classes in high school; drawing, painting, photography. I worked hard at it, and even won 'Best in Show' at my Senior Art Show. 

After high school I dabbled in collage art, enjoying the many uses of mod podge. I've tried my hand at so many styles; 3D art, jewelry as art, fabric art, and using video as an art medium. During my late college years I took a printmaking class that opened my eyes to a new way to practice art. Through the years I've been lucky to study under some very talented and understanding art professors. 

 Thanks to social media, I recently discovered an art center located in downtown Baltimore than has championed art right here in the city for nearly 30 years. Every year the School 33 Art Center hosts a Benefit to help support their mission. The Lotta Art Benefit is great because not only do the proceeds go to help support School 33, but all the ticket holders get to go home with an original work of art!

This is the 20th year that School 33 has held this Benefit....and this year one of my art pieces has been accepted to be auctioned off!!

I am over the moon that I have the opportunity to give back to Baltimore's art community.
I never thought in a million years that I would be "good enough" to sell my art...let alone give my art away for a real, live benefit event. I am so thankful for everybody at School 33 who recognized my potential & was excited about my art. MY art!!

(My listing is towards the bottom the the page.)


Happy Art-ing! 

Neon Painted Wooden Spoons!

I'm really digging the neon colors that are trending this season. Bright colors have the ability to instantly transform a space, adding warmth & excitement!
When I saw this tutorial from Little Bit Funky, I knew I wanted to try it out for myself!
Here is another example of wooden spoons painted in a much softer palette.
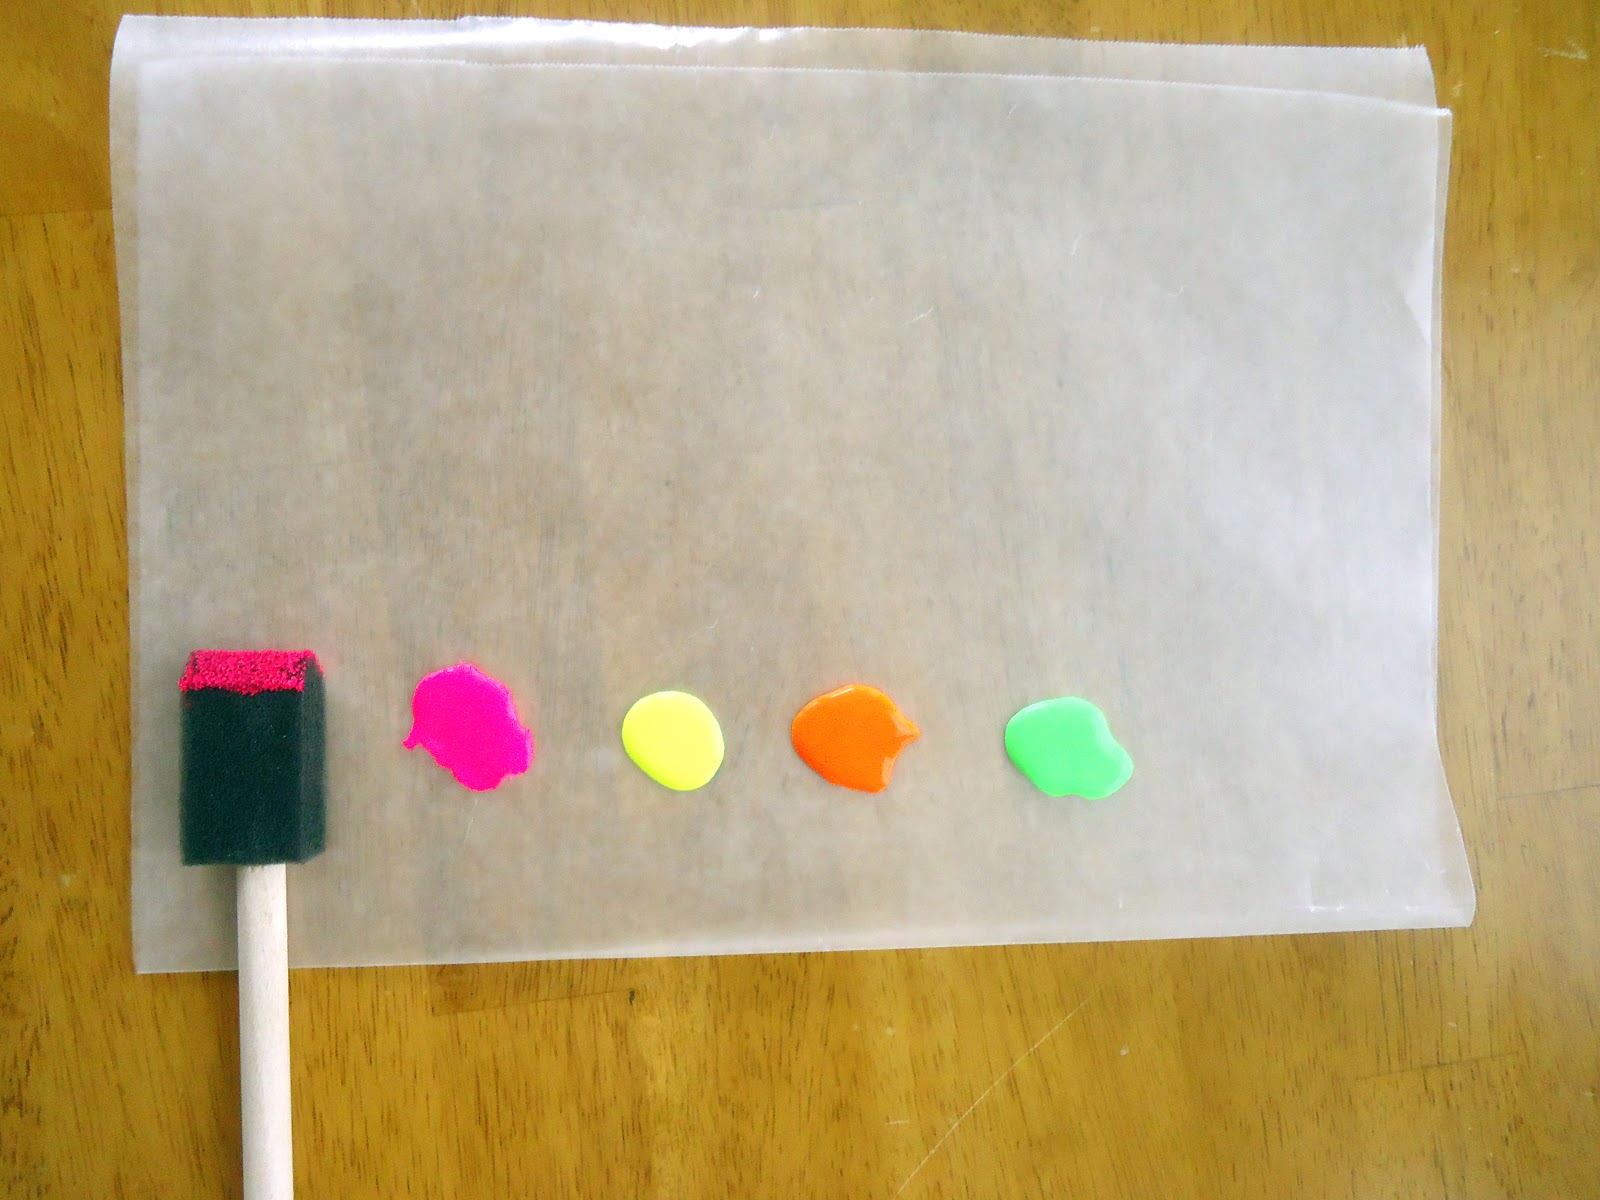
I went to my local craft store & picked up a couple bottles of neon craft paint & inexpensive foam brushes. I always keep primer & polycrylic on hand because I use both products quite often. 
The wooden spoons came straight out of my kitchen! 

Before!

I used blue painters tape to make a clean, straight line where I wanted the paint to stop.

I primed the ends of my spoons with primer.
I rested them on left-over wood pieces from this project. (They are the top pieces from the turquoise shelving unit. I cut them off to make the shelving unit fit our kitchen. I had been hanging onto these wood pieces for nearly a year! Earlier today I had actually thrown them in the trash(!) because I had not come up with a use for them. Low and behold, when I was looking around the house for something to rest my wet spoons on, I spotted these in the trash. They are perfect for resting drying spoons on!)

My neon paint. I ended up not using the neon green; instead I used some of the turquoise paint I used for the shelving unit in the kitchen.


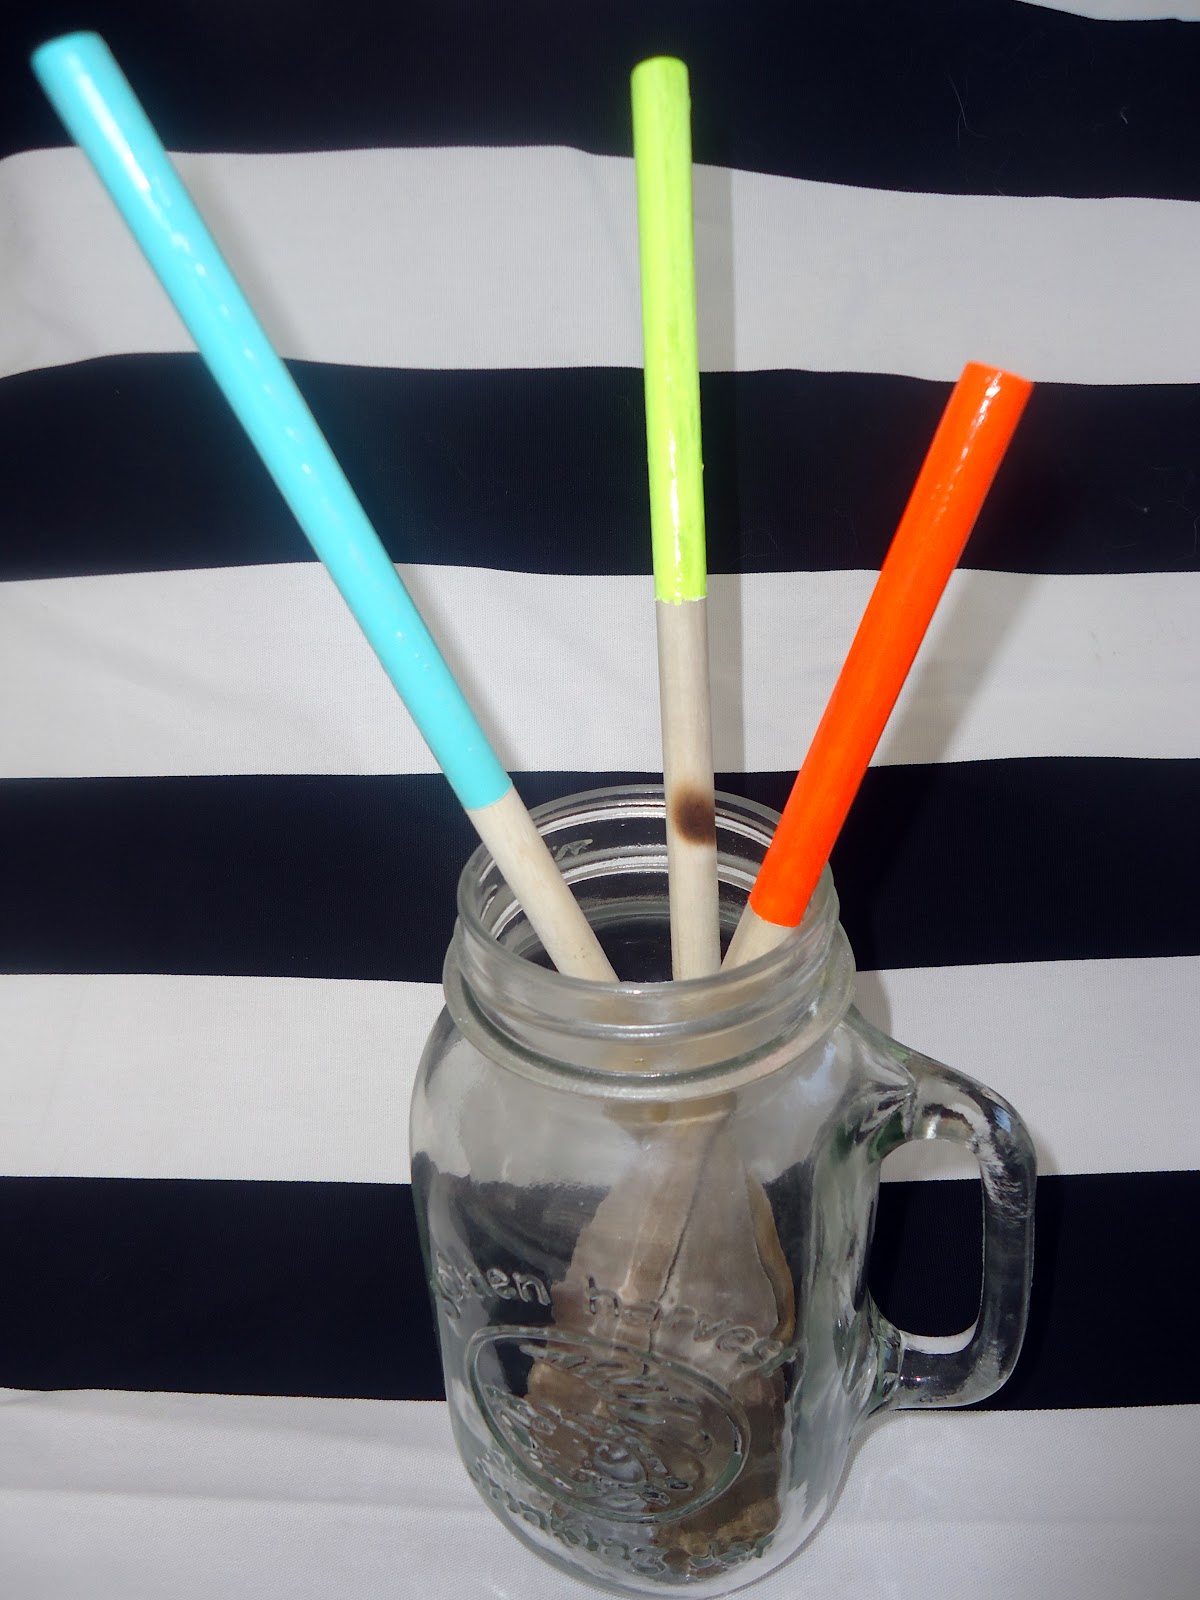
After!
Check out how cute they look in my drinking glass jar. 

I think they turned out great! Very bright & cheery. I ended up doing one coat of primer, three coats of paint, and one coat of shiny sealer. 


I hope you have been inspired to brighten up your kitchen by making your own painted wooden spoons!
Craft on!

Thursday, March 29, 2012

Pinterest Thursday!

Hello! I hope you enjoy today's triangle-themed edition of Pinterest Thursday! 


As always, thank you for reading!

Wednesday, March 28, 2012

Kilby Gets an Upgrade

So, I have a lot of stuff. I don't mean to acquire so many things as I do, it just happens! So many tiny things go into sewing, crafting & the like...it is difficult to be a crafter without things to craft with! As a result, I need a ton of storage. 

Two apartments ago S and I bought the Kilby from my favorite home store, IKEA. The Kilby has been very useful for storing things, but unlike its grown-up big brother, the Billy, the Kilby is not very pleasant to look at. The blonde wood is okay, not my favorite; but the nondescript grey backing is just so sad. I've been wanting to cover it up for some time now, but have been unable to commit to a pattern.

In case you were wondering why S and I bought the ugly bookshelf, it is because the Kilby costs decidedly much, much less than any of the comparable Billy products. In fact, I just bought my first Billy shelf this week!  

Last week S and I had a rare day off from work together. The whether was great so we hit the city, hanging out at all our favorite places. I decided that today was the day that we fix up the sad Kilby, so we went to Trohv, I picked out all  my favorite spring-weather papers, and we went home & got to work!  


Before!
See the grey + blonde bookcase on the right? Sad, huh.


 Before - All cleaned off. Notice we also took down the black wall shelf on the left?

Before

 We cleaned the Kilby from top to bottom to get rid of all the dust.
To test out the effectiveness of this adhesive we put a test strip of paper on the bottom. 
What pretty piece of test paper!
As expected, the adhesive worked great.


I laid out the paper rolls to measure. I wanted to cut as little as possible.  

We taped the edges of the shelf walls with painters tape to protect them from the spray adhesive.

We decided to cut the paper about an inch longer on each side so we could razor the edges for a nice, clean finish.


After!


I just love how it turned out! The sunroom is SO much more cheery now that the grey backing has been updated to bright dots & floral prints.
The project was quick & easy; with two people it took us less than two hours from start to finish. 


Thanks for checking out my bookcase makeover! I hope you have been inspired to update an old piece of your furniture into a piece that makes you smile.

Tuesday, March 27, 2012

White Ceramic Chicken

This is a quick & easy DIY makeover that has a big impact. 
Every once in a while I make time to check out the local thrift stores. The last time I went I found this amazing ceramic chicken. I love chickens & this little one was pretty cute, but rather tired looking. I knew I had to take it home with me & make it pretty!

Before Chicken

After I got the chicken home I cleaned it with soap & hot water, then let it dry completely.

I took it outside with a drop cloth, and used spray primer & spray paint to make it pretty!
I used one coat of Zissner spray primer (because that stuff sticks to everything!) and two coats of Heirloom White spray paint.
I let the paint dry then sprayed it with a coat of polycrylic. The Heirloom White paint is a matte finish which is why I chose to finish the chicken with polycrylic; I wanted a shiny chicken. If my spray paint was a glossy finish I would not have bothered with the sealer coat. 

After Chicken!


Check out how nice the chicken looks now! 
I have not decided where it will stay, but for now it is hanging out on my newly updated IKEA bookshelf. (Blog post to come later!)

This was a quick & simple project that transformed a forlorn thrift store find into one of my favorite home decorations! I hope you will be inspired to transform one of your old statues into a new treasure!


I am linking up with Tip Junkie today!
Tip Junkie handmade projects

Thursday, March 22, 2012

Pinterest Thursday!

Welcome to Pinterest Thursdays! 
I've got some awesome pink inspiration for you today!

I would love to paint my chandelier pink!


I love the pink, orange & turquoise combination


Shiny pink modern shelving


This is so different. The XL desk lamp is really funny.


So comfy looking! Bedding set comes complete with complimentary kitty. 


I hope you enjoyed this week's edition of Pinterest Thursday!
As always, thanks for joining me!

Saturday, March 17, 2012

Homemade Pesto

The weather has been so unseasonably warm & wonderful that I decided to try my hand at homemade pesto!
I did not add pine nuts, so I guess this isn't a traditional pesto, but S and I thought it was delicious!

I bought a package of fresh basil from my local market. When I separated the leaves from the stalks I ended up with about three handfuls of basil leaves.

I decided my stick blender would be the perfect pesto-making tool. My older sister gifted me a hot pink stick blender for this past Christmas. Lucky me! The stick blender came with its own container for blending which was pretty cool. It it tall and skinny which helps eliminate splatter. I love pesto in my belly, not in my hair!

I love garlic so I used ten cloves of garlic. Haha, yes, ten. I minced it up by hand, and threw it in with the basil.

I seasoned my deliciousness with a little kosher salt, lots of black pepper, and a little shake of red pepper flakes.  

Next I added a bunch of Extra Virgin Olive Oil & blended away!


Yum! Look how delicious it looks!  

To finish it off, I added Parmesan cheese to the pesto. I like the powdered stuff best. (Strange, yes?)


S and I made grilled fresh mozzarella & pesto panini sandwiches with my homemade pesto.

They were ooey, gooey, garlicky & delicious!

I hope you are inspire to try your hand at homemade pesto - it was a quick & easy way to amp up our supper!

Thursday, March 15, 2012

Pinterest Thursday: St. Patrick's Day Edition

Welcome to the St. Patrick's Day edition of Pinterest Thursday!
I hope you enjoy the green-tinged food I found on Pinterest today!

Shamrock Cupcakes - Yum!

Green Chocolate Chip Cookies

An ombre green version of the rainbow layer cake

Mmmmmm...cucumber sandwiches

A big, green stack of pancakes!

Printable green-themed beer labels - perfect for those of us throwing a party at home

I hope you have been inspired to make some delicious green food for St. Patrick's Day this year!
And as always, thanks for reading.