Thursday, August 25, 2011

Football Party!

We love football in this home! I am a Washington Redskins fan and S is a Baltimore Ravens fan, which means that our teams play each other every couple years during the regular season, but usually every season we play against each other during preseason.
This year was a preseason game, and we decided to have a little party to help break in our new house, and celebrate the upcoming football season!

I made football shaped brownies!

I let the brownies cool completely before I cut them into football shapes.

I drew out my own template on white paper and used it to cut each football out of the giant sheet of brownies!

A couple of nice looking footballs.

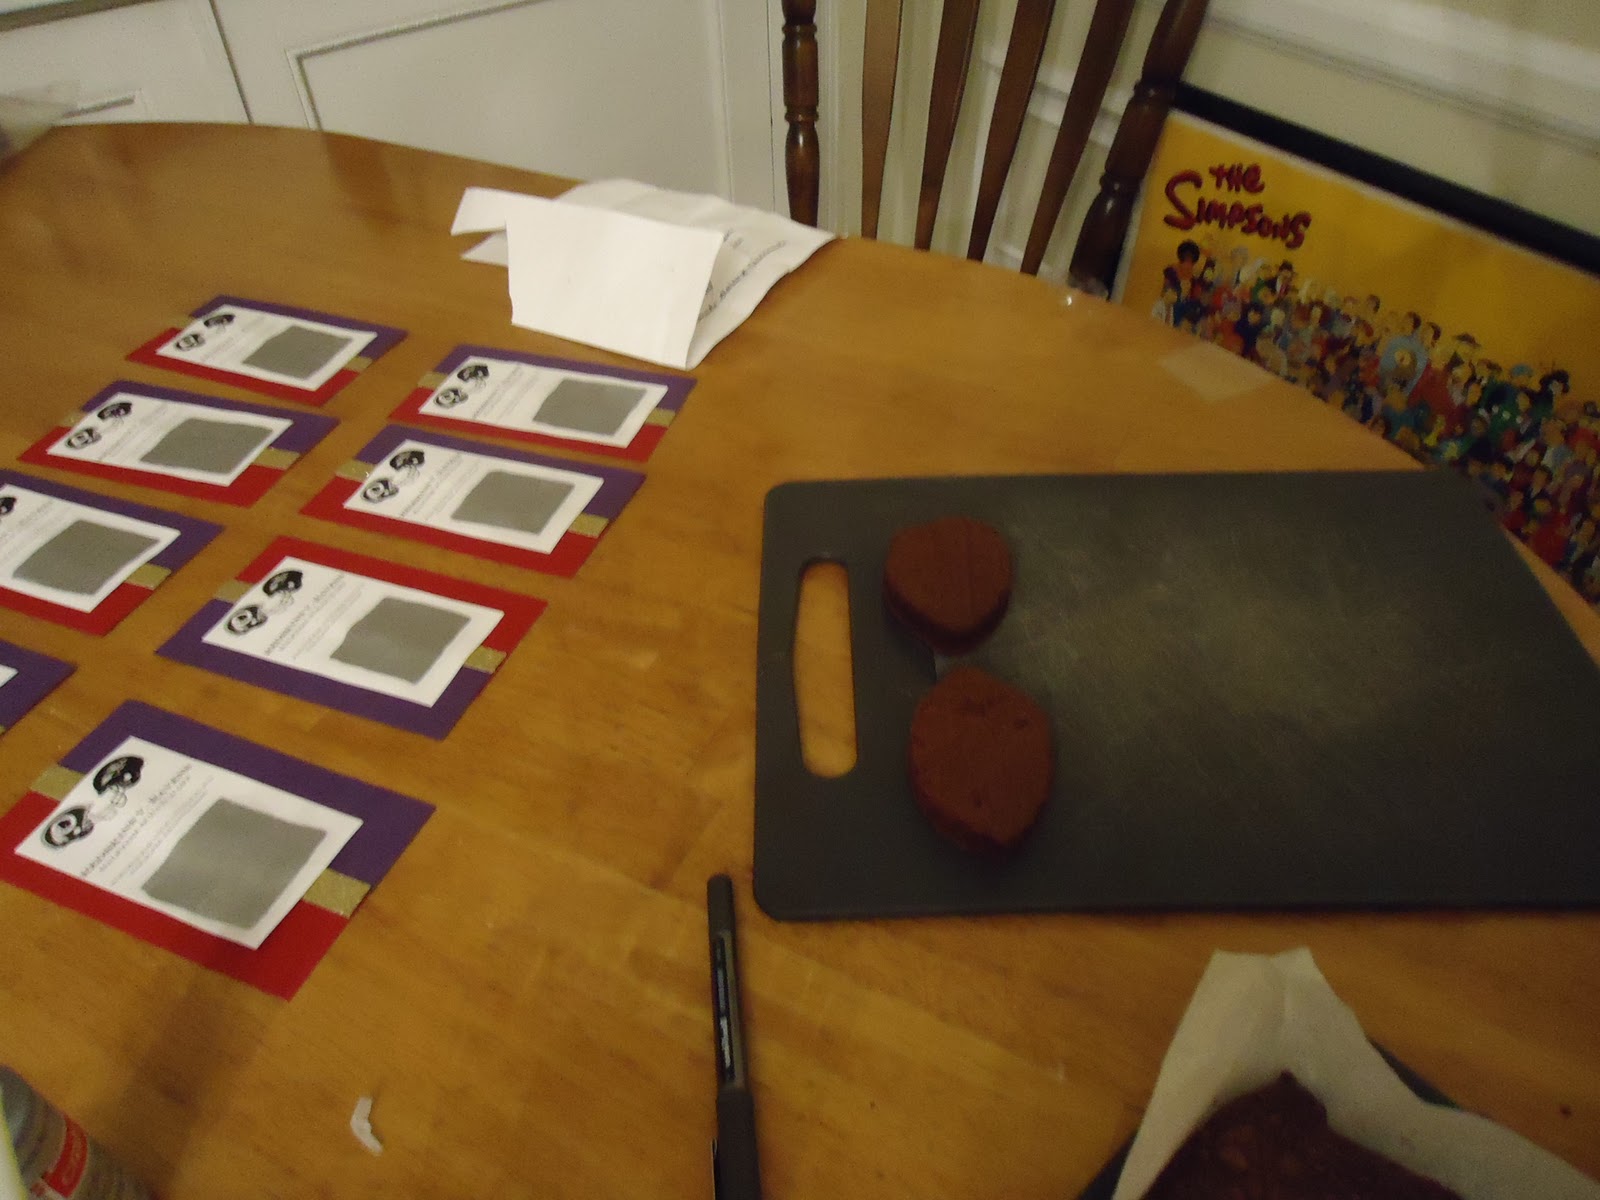
I made a batch of royal icing and used a baggie with its corner clipped off to decorate the footballs. 
They look great, don't you think!

I also made my own scratch offs for half-time!
Using regular white computer paper, I printed the pictures & words I wanted on the scratch off.
I bought heavy duty scrapbooking paper from Michael's in burgundy (Redskins colors!) & purple (Raven's colors!). 
I also bought a sheet of the most awesome, sparkly gold scrapbooking paper. 
Everything is better with sparkles.

Using my paper cutters from Creative Memories, I cut all the paper down to size. 
I made up my own size for my home made scratch offs, they were approximately 2" x 5".

If I had known where my gluestick was, I would have used that to glue all the paper together. Unfortunately, I did not know where it was, so I used rolled up tape to piece these things together. 
I used the purple card stock as the base, then cut out a piece of burgundy half the size of the purple, and taped it on top. 
Then I cut a sliver of sparkly gold paper, and taped that over the middle.
Then I taped down the white paper with the pictures & words. 

They are starting to look awesome! 

To make the "scratch" part of the scratch off I used clear packing tape, metallic silver craft paint, & dish-washing liquid. 
First, I taped over the "Winner/Not a Winner" messages with clear packing tape. 
Next, I mixed equal parts metallic silver craft paint & dish-washing liquid on a plate. I used a tiny foam craft brush to carefully paint a silver rectangle over top of the clear packing tape, taking care not to get any paint off the sides of the tape.  

Biscuit helped, naturally.

It doesn't take too long for the paint to dry, I think I let mine sit for about an hour though.
Now you can scratch your way to victory!

S and I made caramel popcorn from scratch, one of our favorite party treats!
I found the recipe last year from this blog. We've made the recipe three times now, and each time it was a great success! Everybody we feed it to can't believe that it is homemade. That denotes a winning recipe in my book.

After he finished the caramel popcorn, S got into the spirit of the evening.

Comet is enjoying some pregame coffee table. 
Notice our Redskins & Ravens team blankets decorations. 

All together now!
Football brownies, ready for eating!
Homemade halftime scratch offs, ready for scratching!
I made a goodie bag of prizes for the halftime scratch off winner. 
Inside I put a whistle, a squishy stress ball shaped like a football, a glitter bouncy ball, and a homemade penalty flag

All of our friends loved their scratch offs, but only one person won!

Friday, August 12, 2011

Neon Kitchen Re-Do

Our apartment backs up to an alley, which provides us with ample work space. Never again will we make the mistake of spray painting in the sunroom, even if all the windows are open and we are wearing masks!

Since our kitchen is so small, and there was this weird gap between the counter and the fridge, S and I made a trek to our favorite home improvement super-store: IKEA! 

We were on the hunt for two things: Some sort of shelving/storage for the gap area, and a step stool for me. We decided to store the pots & pans on top of the wall cabinets, which S can reach, no problem, but for which I need a little assistance. 

I had done my online IKEA research, so I knew exactly which step stool I wanted.
 Neither S, nor I knew exactly what we wanted for the gap area in the kitchen. We were on a hunt!
After some joyful browsing through the IKEA showroom, S caught sight of something he thought would be perfect, with a little work. 
After some plotting, I agreed, and we brought home the GORM and the BEKVAM. 
Check out the neon colors after the jump!
Unfortunately, we did not prime either piece of furniture. We did sand and clean, but no prime. In hindsight, we should have primed. Some of the knots are showing through on the turquoise piece, but overall, I give the both of us an A+ for our work.

Before - Unfinished wood pieces, ready to be painted!

During - Look at those awesome colors!

Check our some more pics of our neon kitchen re-do, after the break!

Wednesday, August 10, 2011

Urban Garden

I always wanted to raise chickens. Ever since seeing them as a kid at the County Fair, I have thought they were great! What could be better than a pet that pulls its own weight, so to speak. With raising chickens you get comedic companionship, as well as the obvious, eggs! 
I'm 100% sure I could get S on board with the chickens, however, Baltimore City does not allow its residents to raise chickens on their land. Cue the boos and rotten tomatoes. 
So I decided to focus my hippy spirit on another type of country-meets-urban activity: the Urban Garden! 
We got SO lucky with our city apartment. Not only do we have a fire escape, but we have a *useable* fire escape. That is, one that has a landing versus a fire escape that merely has a latter to climb down. The perfect place for an Urban Garden!

My grandmother (who has the greenest of green thumbs) gave me two small tomato plants midway through the summer. Now, I do love a good project, but sometimes (most of the time?) I am a slow starter. Those two sad tomato plants stayed in their tiny containers in my sunroom for nearly a month before I decided what I could plant them in.

Enter the milk crate! I had the idea to plant the 2 tomato plants in a milk crate, and S had the idea to use the plastic sheeting so the whole process would not be too messy. So, I outfitted the milk crate with the plastic sheeting; securing it with gaff tape and poking holes in the bottom and sides to let the water drain out. Biscuit helped hold the plastic sheeting down with her heft.

Check our the rest of the Urban Garden story, after the break!

Monday, August 1, 2011

Our New Apartment - Before

So, S and I moved to Baltimore City in April 2011. I had this great idea to create a blog to document all the projects, changes, and DIY revelations we did to our new place. Well, its November now, and we have done a TON of work. All the awesomeness of our DIY projects are documented via photographs on my hard drive. The time has come for me to unearth the pictures from the black hole, and catalog the transformation of our home. 
See some pictures of our new apartment...after the break!

Living Room
S picked out that awesome rug from Home Depot. Its shag, and its delicious to walk on.
Hand me down leather sofa. 
TV stand, coffee table, and recycling system (back left) are all from IKEA.


Awesome built-in shelves. Beautiful stone fireplace, with 2 gargoyles. The apartment even came with a working chandelier! 
In the beginning we set up a very fancy folding card table to act as our dining room table. 
On the right side of the picture is my unfinished IKEA Rast dresser that S bought for me. I had plans to refinish it...and the sad dresser sat for 6 months before I actually did anything to it! Pictures of that exciting transformation to come. On top of the sad Rast is Supper, our goldfish.

And of course, the last thing to explain about our new living room. Can you see it? The ghastly, horrible, scary color that is covering every square inch of these lovely, paneled walls? Its......beige. I almost don't want to type the letters. This color is horrible. It is even worse in person that you can tell in the pictures. S and I picked out a beautiful light blue color to repaint...before we even moved in! We fell in love with the apartment, but knew, without a doubt, that this weird tan/beige/bleh color had got to go! My goal is to have the painting finished by X-mas. We actually painted our bedroom first...pictures of that mess to come. I am very confident that we will be able to brighten up our living room by the end of December...even with the advent of Skyrim looming ahead of us!


The Kitchen
I am loving the striped faux-wood flooring. So funky! We don't have a microwave or a dishwasher (yet), but we have a gas stove, and a sweet sink disposal system.
 The windows on the one side of the kitchen let in so much light during the day. It helps a lot because there are no windows in our living room, due to the fact that our living room is in the middle of the row house.
Those long heaters are everywhere in our apartment, even in the sunroom. Well, we have heaters everywhere but our bathroom. There are no outlets in the bathroom either. Now that winter is nearly upon us, S and I are thinking hard about what to do about our super-cold bathroom.

Check out the rest of our new apartment, after the break!